-
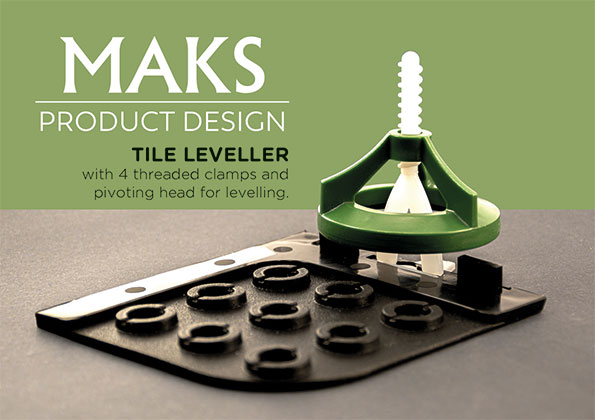
NIVELLATOR
RELIABLE QUALITY
"With MAKS Products Nivellator, ceramic tiles can now be easily and efficiently laid on gravel surfaces without slipping."
Read more
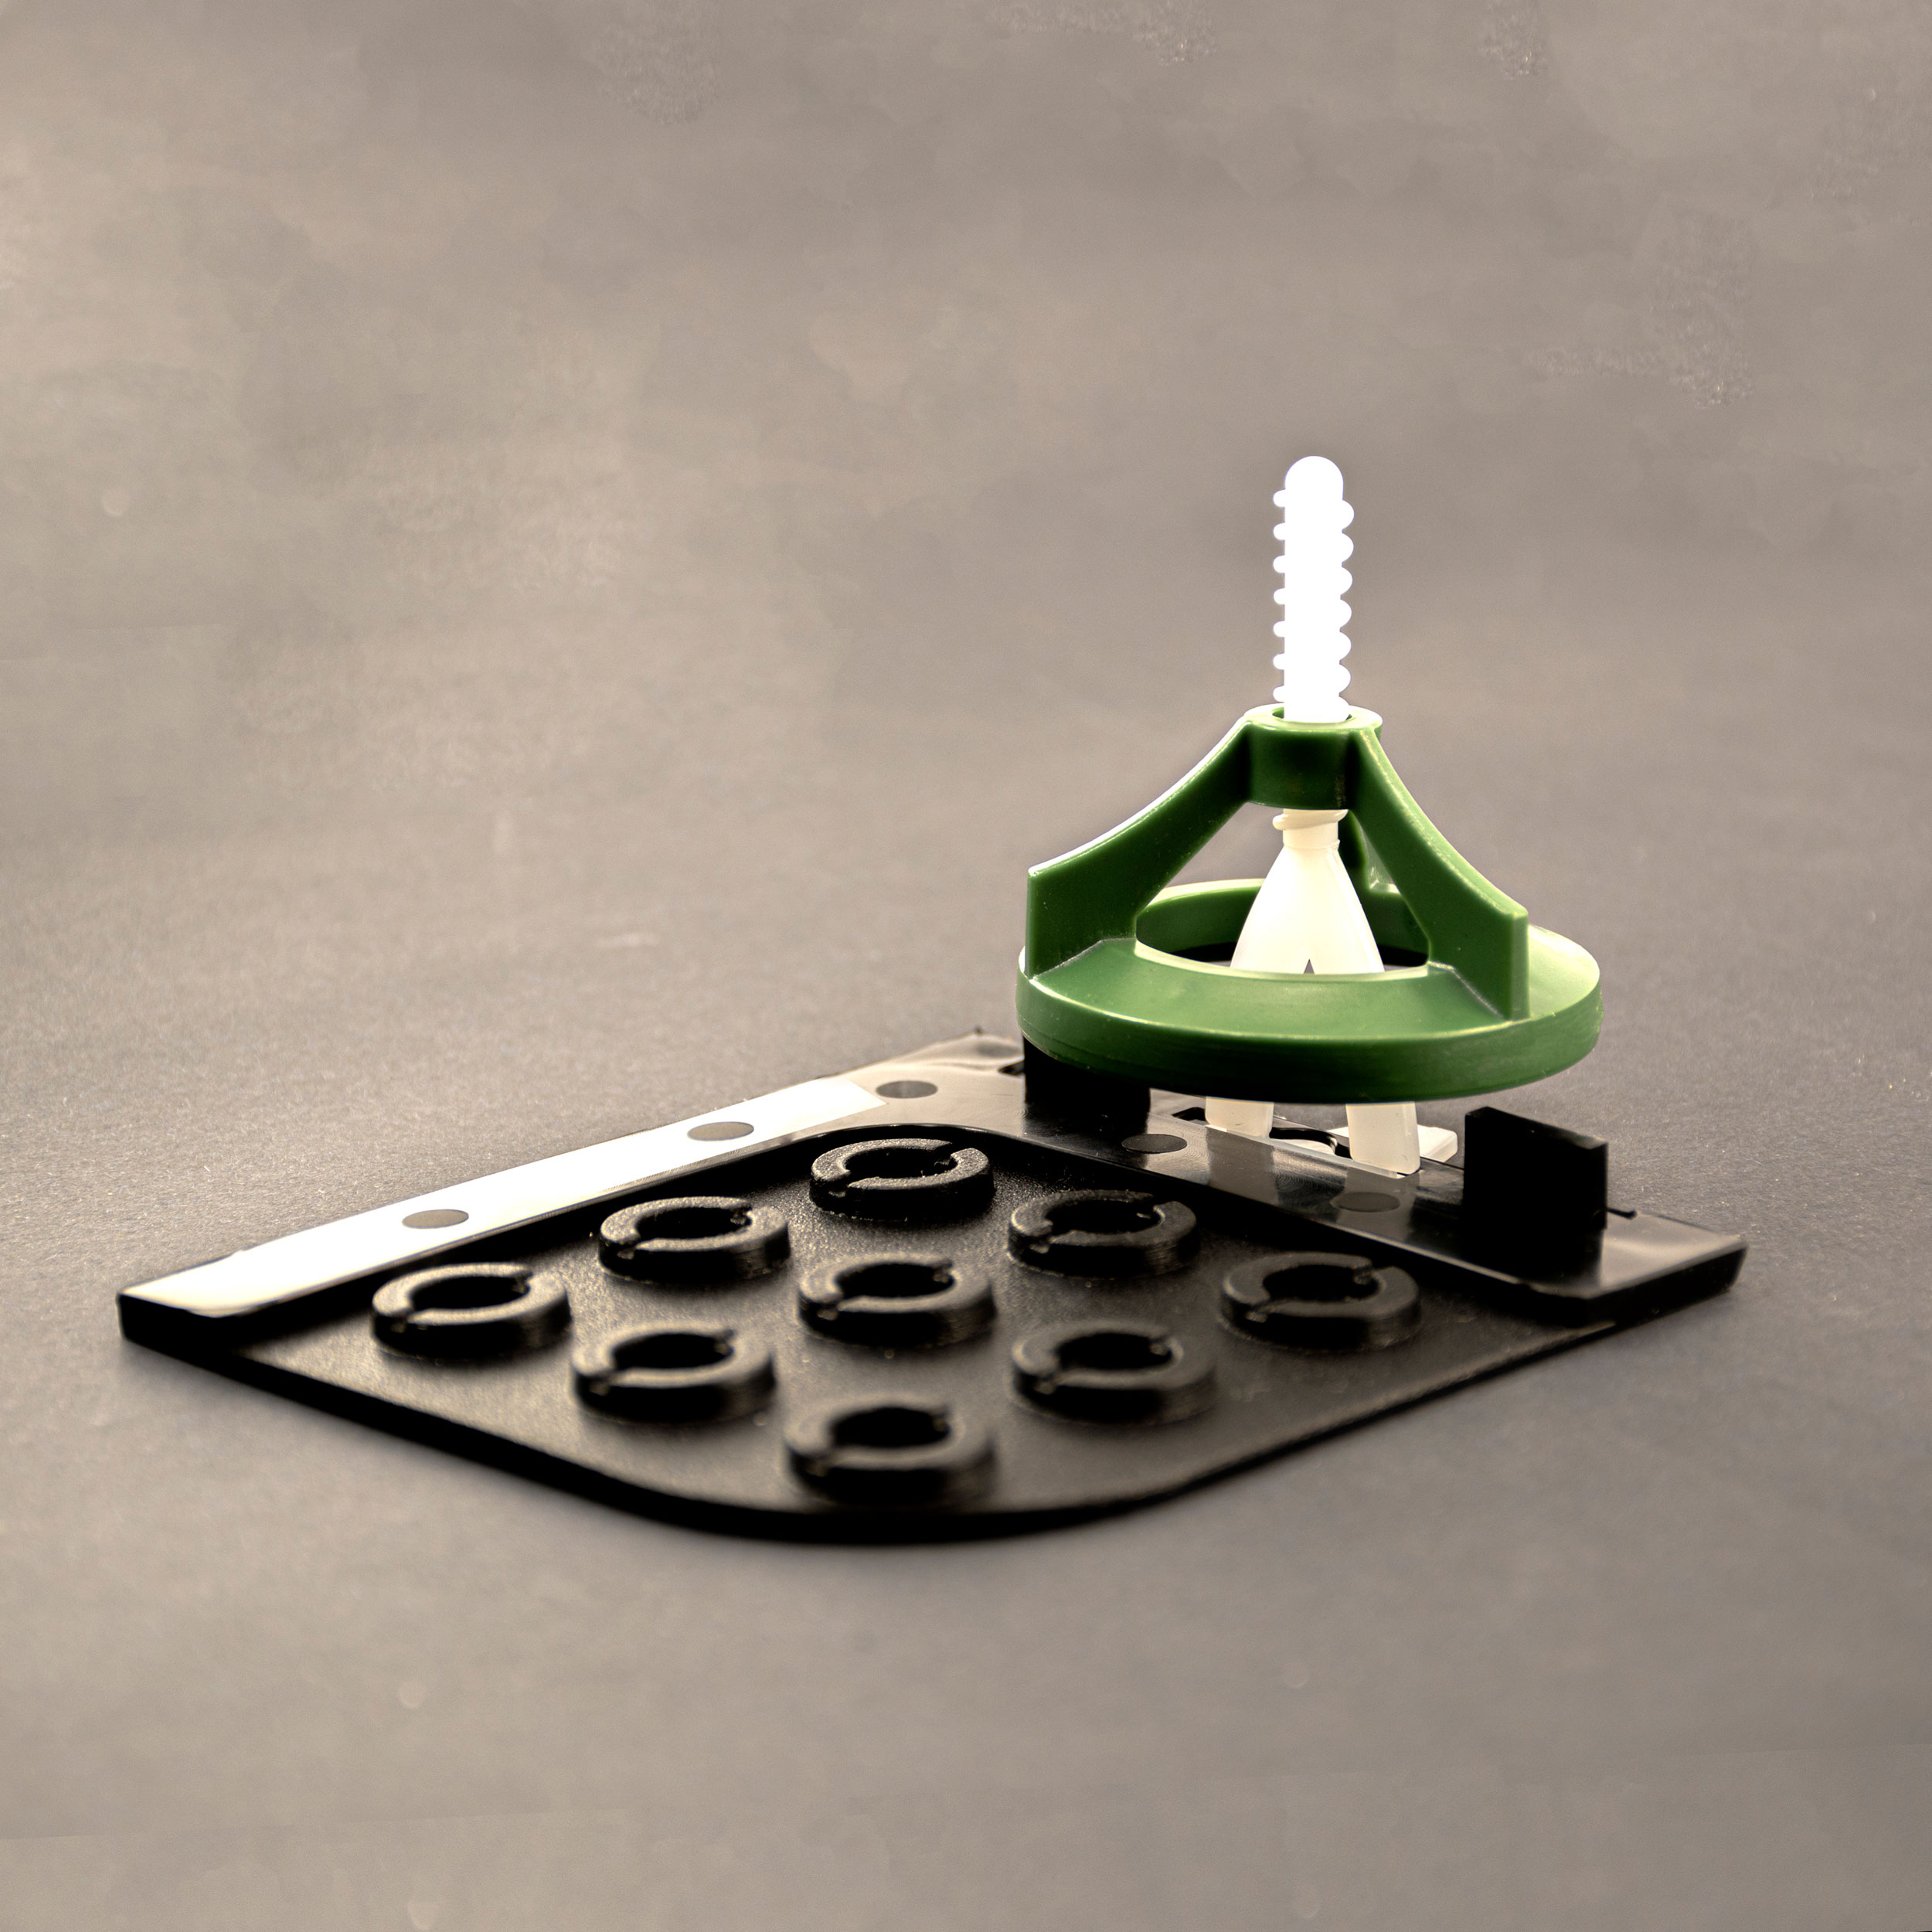
For tiles with 4 threaded spacers and a swivel head for leveling.
- Tile installation without special prior knowledge
- Simple and precise tile installation
- Uniform grout lines
- No protruding tile edges during installation thanks to fixing screws
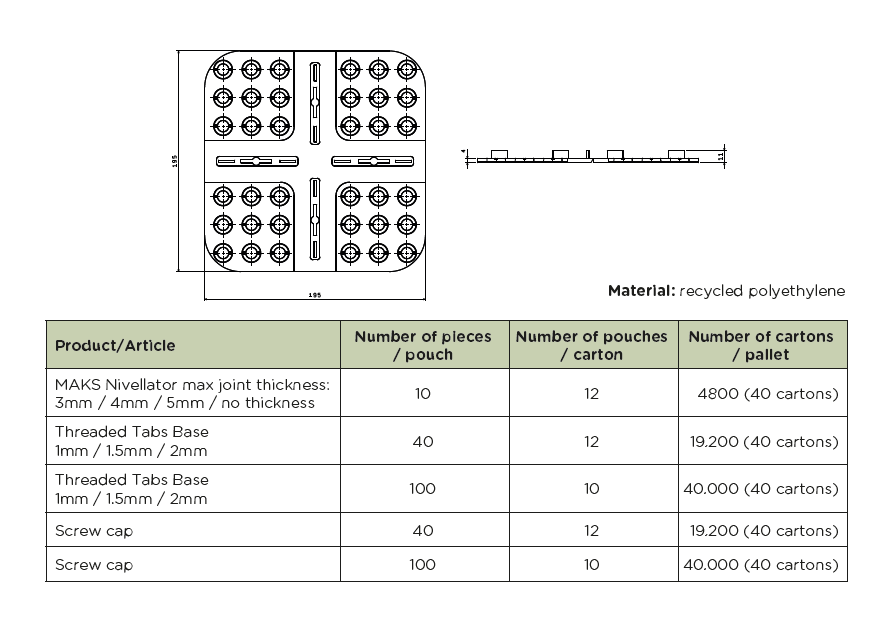
- Grout thickness as desired: 3mm, 4mm, 5mm
- Suitable for tiles up to a maximum thickness of 30mm
- Extremely load-bearing, even on a gravel bed
- Attachment with suitable mounting adhesive
- Dimensions: 195mm x 195mm
- Material: environmentally friendly, recycled polypropylene
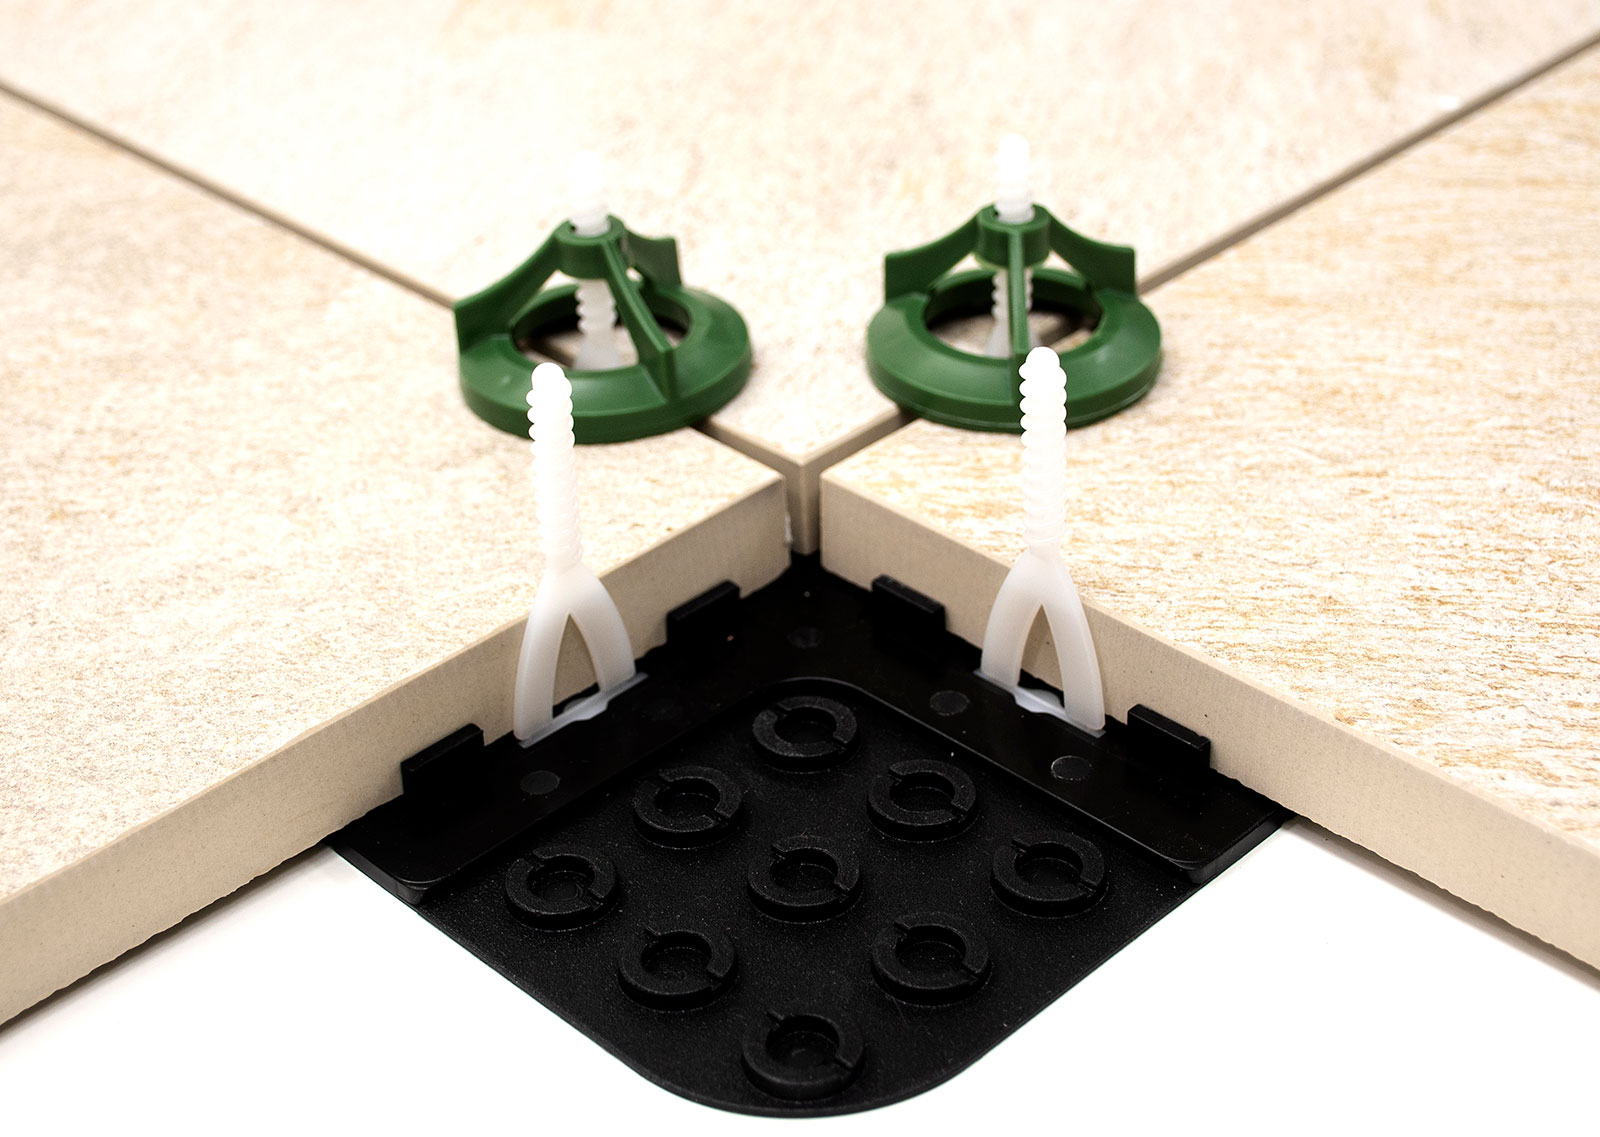
INSTALLATION GUIDE
Place the first leveller on the first tile crossing point.You need 1 leveller, 4 screws and caps per tile (for large tiles, enquire about the necessary quantity with tile manufacturer). Likewise, we sell a leveller without a stop for joints which can be positioned under the central part of the tile.
Apply glue to leveller’s chambers. In doing so, act systematically.
Apply the glue also to the back of the tile, to all four corners
Place a ceramic tile next to the leveller joint and tap at the tile, preferably with a rubber hammer.
Level possible unevenness with fixing screws. To do this, insert the screw into a pre-bored hole in the leveller and fix it with a screw cap.
After ca 72 hours, the glue will harden and the caps can be removed from their fixing points. (Note: Depending on the glue, hardening can take as long as 100 hours.)